Skip to content

Country

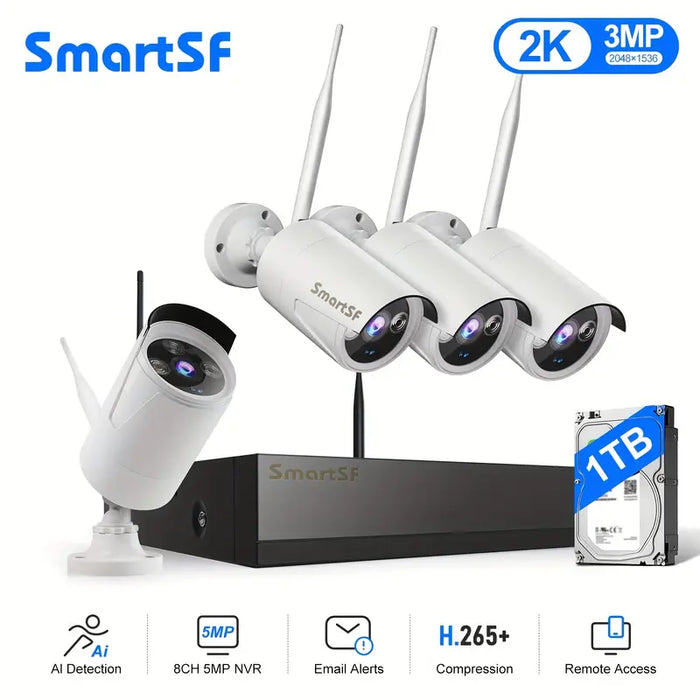
SmartSF Wireless Security Camera System, 8CH with 4 3MP Cameras, Not Hard Drive, Night Vision

Save 44% Save 44%
Original price $360.00
Original price $360.00 - Original price $360.00
Original price $360.00
Current price $200.00
$200.00 - $200.00
Current price $200.00
  • Wireless Security System Solution: The Day & Night Vision Surveillance NVR kit comprises of four 3MP 1080P Full HD wireless cameras, each equipped with IP66 waterproof rating, ensuring reliable performance in all weather conditions. The security camera system offering advanced features like long-range night vision (up to 65 feet), live streaming, remote monitoring, and instant motion detection alerts.
  • Effortless Setup, Plug & Play Convenience: Say goodbye to complex installations. Our wireless security cameras and NVR are pre-paired at the factory, making setup a breeze. Simply connect the cameras and NVR to a power source, and link the NVR to your PC/TV monitor using an HDMI/VGA cable. Instantly enjoy live footage and 24/7 monitoring on your screen. [IMPORTANT NOTE]: Wireless refers to the absence of video cables, but cameras still require a power outlet connection for continuous recording.
  • Remotely Access Anytime & Anywhere: Wireless security camera system can view real-time video and real-time dynamics without a network. The Internet is only needed when remotely accessing from a mobile device. The security system allows you to remotely view real-time video through your mobile phone and Pad anytime and anywhere, such as traveling abroad. We provide free mobile APP (iOS & Android) and PC client, which can be downloaded from "Google Store" or "App store".
  • HD Security Camera System: This comprehensive setup comprises 4 units of 1080P HD Bullet cameras and an 8CH 1080P NVR Recorder (without HDD included). The NVR supports up to a 4TB HDD (Internal, SATA Interface, compatible with 3.5/2.5 inches drives) for ample storage. The system is scalable, allowing for expansion up to 8 cameras total. Install these cameras anywhere you deem necessary, offering a robust indoor/outdoor security and surveillance solution tailored for homes, offices, shops, warehouses, and beyond.
  • Worry-Free Guarantee: We stand by our products with a 60-day hassle-free return policy, comprehensive 1-year warranty, and round-the-clock technical support from SmartSF. Our priority is to safeguard the security of our customers, their families, and businesses. Don't hesitate to reach out to our knowledgeable technicians and customer support team for any assistance or inquiries.

FAQs

Category

No signal output from NVR (Does not seem to be turned on)

- If the front panel power light is stable (not blinking), switch from your TV set to a monitor, change the NVR's output resolution, then switch back to your TV set.

- If the front panel power light is blinking (flashing), first change the NVR power supply; if the issue persists, uninstall the internal storage drive (if any).

No image from camera(s).

- Use your palm or any other object to cover/darken the camera's front view; check if the IR LED lights fail to light up. If they don't , try a different power supply for the camera.

- If the camera was previously paired to the NVR: Right-click --> Pair --> Select the relevant camera in the top pane --> Add.

- First time pairing a camera to the NVR: Connect the camera via Ethernet cord --: Right-click --> Pair --> --> Search (or Pair) --> Select the relevant camera in the top pane --> Add.

Can't access the NVR over the internet (Remote access failure)

- While on the NVR system, click on the home icon at the bottom-left corner of the screen, then select "Version".

- The "Serial No." (about 12 characters long) shown on this page corresponds to to the NVR "Cloud ID".

- Also, check if "Nat Status" reads "Connected".

- Download and install our "TSEYE" app from your applicable app store.

- If you had already registered on the app, please sign out: Tap on the "Me" icon at the bottom right; tap on your profile ID at the top, then "LOGOUT".

- Tap on "Log in locally"
- Tap on the "+" sign at the top-right corner of the screen, select "XVR/NVR".

- For "Name", feel free to input anything, maybe "home", "office", etc.

- Make sure you are under the "Serial Number" tab.

- For "SN", input the "Serial No." that was retrieved from the NVR as discussed above.

- Make sure you use the same user name and password as the ones the NVR. If you have no password on the NVR, please use "admin" for user name and just leave the password field blank/empty.

- Tap on "ADD DEVICE" at the top-right corner of the screen.

- The NVR should now appear on the "Device List". You can tap on it to connect.

Connection operation video